
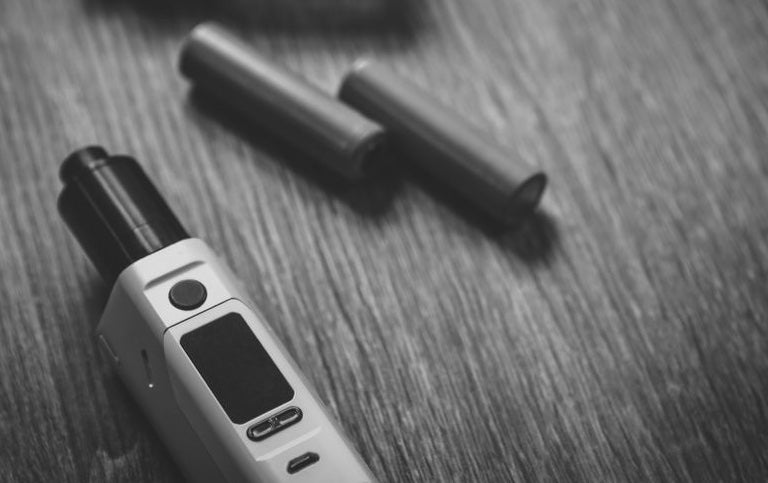
If you see the error “No Atomizer” on your vape mod or pod mod, it means that your vaping device can’t detect the atomizer coil in the connected pod or tank. This error can occur with devices from all of the most popular brands including SMOK, Geekvape and others – and when it happens, it means that your device won’t fire at all. So, what does it mean when your vaping device says that no atomizer is found – and what do you need to do to fix the issue?
The good news is that fixing a “no atomizer” or “check atomizer” error often isn’t actually as difficult as it sounds on the surface. Mostly, it’s a matter of making sure that you’re using the correct equipment and that your device’s components are assembled correctly. In this article, we’ll walk you through fixing a “no atomizer” error. Troubleshooting this issue depends in part on the type of vaping device that you’re using, so this article will provide separate troubleshooting instructions for vape mods and pod mods. First, though, we’ll discuss some general tips that apply to all types of vapes.
Troubleshooting a No Atomizer Error: Tips for All Vaping Devices
There are a few universal troubleshooting steps that apply to any type of vaping device when you’re dealing with a “no atomizer” error, and we’ll begin with those as we open this article.
Remove and Reseat the Tank or Pod
When you’re dealing with a “no atomizer” error, the first thing that you should do is disconnect and reconnect your tank or pod. If your device detects the coil now, your troubleshooting is complete. Watch your device to see if the issue returns in the future because an intermittent inability to detect the installed coil can be caused by a problem like weak solder joints under the device’s 510 threading. If you’ve been using your device for a while, it could be a sign that you’ll need to replace it soon.
Check for a Leak and Clean Your Device
When you remove the tank or pod from your device, you should check under it to see if a leak has occurred. E-liquid inside your device’s threading or pod chamber can prevent the device from establishing an electrical connection with the coil. If you find e-liquid in your device’s chamber or threading, dry it right away. If your device’s threading is especially dirty, clean it using a cotton swab moistened very slightly with a little rubbing alcohol. You can clean your tank’s threading in the same way.
Charge Your Device
Although it’s rare, vapers have sometimes reported that charging a vaping device can fix a “no atomizer” error. If your device’s battery is very low, you should try charging it.
Evaluate Damage to Your Device
Have you dropped your vaping device on a hard surface or in water? If you have – and you’re unable to fix the “no atomizer” error after trying all of the tips in this article – it’s time to face the possibility that your device may be damaged permanently. If it’s been dropped in water, you should try putting it in a bag with some desiccant packets for a couple of days. If the device’s internal electronics haven’t been damaged by moisture, the desiccant may absorb enough of the water to stop the error from occurring.
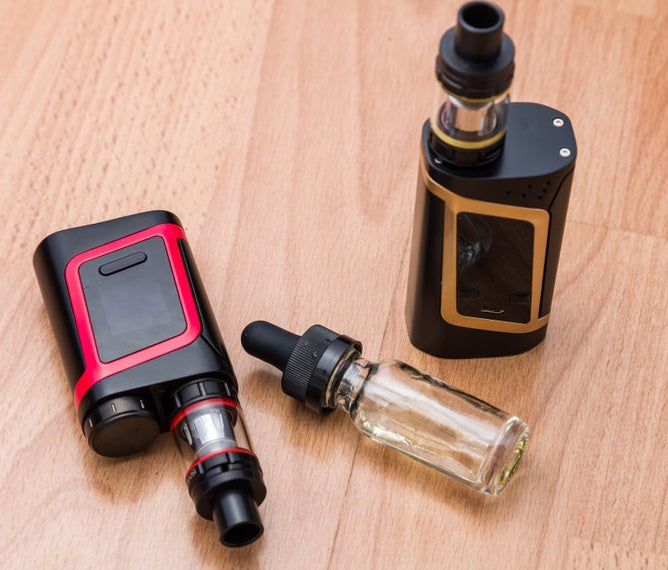
Troubleshooting a No Atomizer Error with a Vape Tank
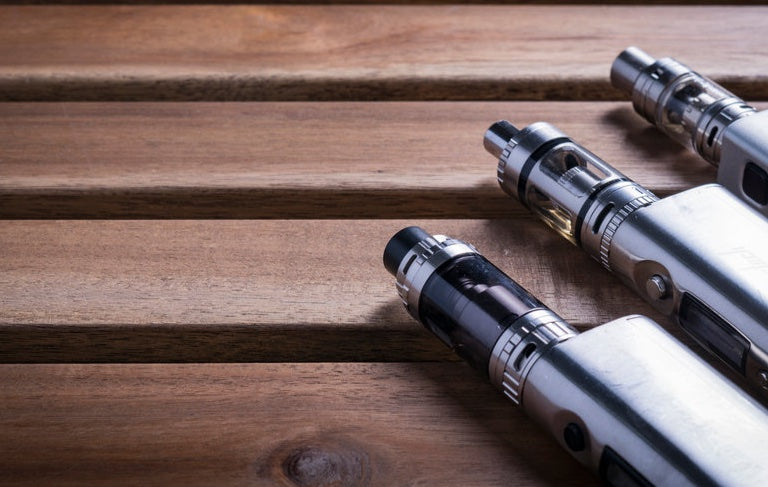
If you’re using a vape mod with a traditional threaded vape tank, this section of our guide is for you. Read on to learn how to troubleshoot a “no atomizer” error with your device.
Remove and Reinstall the Coil
When a vape mod displays a “no atomizer” error, the problem is often that the coil simply isn’t installed correctly – especially if the problem began after you installed a new coil. Remove the tank from your mod and disassemble it. Remove the coil and check for excess condensation in the base of the tank. If the tank’s base is wet, dry it with a paper towel and reassemble the tank, making sure that the coil is screwed in all the way. Note that a few vape tanks require the coil to be screwed in very firmly.
Make Sure Your Device Supports the Coil’s Resistance
If you’ve just bought a new vape tank for your mod and are having trouble getting the tank to work, you should check to confirm that your device supports the resistance of the tank’s coil. You can find the minimum supported resistance in your device’s instruction manual. The resistance of the coil must be higher than that number.
Adjust the Tank’s Center Pin
Although it’s not as common today as it once was, a vape tank will sometimes have an adjustable pin in the middle of its threading. Check the underside of your tank and see if the threading has an indentation for a flathead screwdriver. If it does, insert a screwdriver and twist it a little to increase the height of the pin.
Replace the Coil
If you’re unable to fix the “no atomizer” error with your vape tank using any of the other tips mentioned above, it’s likely that the installed coil has a manufacturing defect of some kind. Install a new coil and see if it resolves the issue.
Try a Different Tank
If you’re still unable to resolve the “no atomizer” error, the next thing that you should do is trace the problem back to its source. You can do that by connecting a different tank to your mod. If the tank works, then the old tank must have been the cause of the issue. If neither tank works, the source of the problem must be your vape mod.
Troubleshooting a No Atomizer Error with a Pod Mod

If you’re using a pod-based device with a screen – otherwise known as a pod mod – this section of our guide is for you. Read on to learn how to troubleshoot a “no atomizer” error with a pod mod. Before you begin, note that pod systems tend to be leakier than other types of vaping devices, so make sure that you’ve followed all of the steps described at the beginning of those article before proceeding with the steps below.
Check for a Sticker Under the Coil
Are you using a new pod system for the first time? Before you proceed too deeply into troubleshooting the error, remove the pod from the device and check for a sticker under it. Some pod mods ship with the coils pre-installed in their pods, and a sticker placed at the base of the coil prevents the coil from making an electrical connection with the device. You’ll need to remove the sticker before you can vape.
Make Sure You’re Using the Correct Pod and Coil
Pod systems are proprietary devices, which means that they only work with the pods and coils designed specifically for them. One problem, though, is that some series of pod systems have been around for so long and consist of so many devices with similar coils and pods that it can be hard to tell what’s compatible with your device. This is true of many long-running pod systems like the Uwell Caliburn series. Make sure that you’re using the correct pod and coil for your device.
Make Sure the Coil Is Installed Properly
You should also confirm that the coil is installed correctly in your device’s pod. Some pod systems have coils that are meant to be installed only in one orientation. If you don’t align your coil correctly, you may not be able to push it all the way in. If your pod has a locking tab for the coil, confirm that the tab is engaged.
Replace the Coil
If you’re not able to clear the “no atomizer” error by following the other tips in this article, it’s possible that the pod or coil you’re using is damaged or defective. Replace the coil. It that doesn’t resolve the issue, replace the pod.
Troubleshooting a No Atomizer Error with a Rebuildable Atomizer
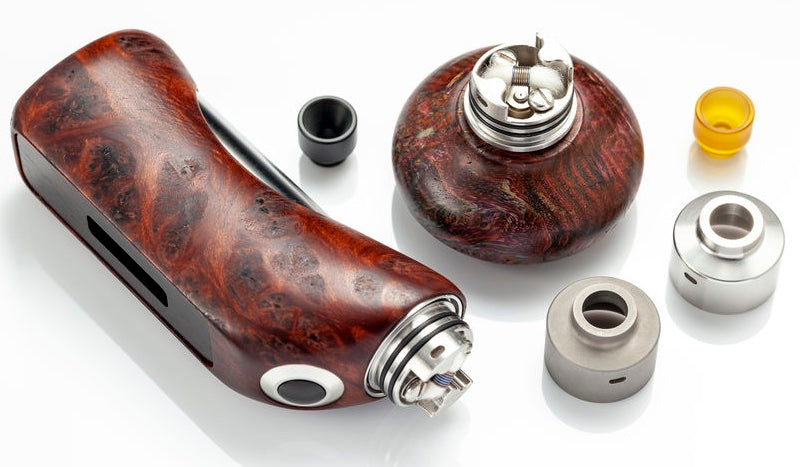
When you build your own coils, getting as close to perfection as possible is important because even a small mistake when building a coil can prevent your vaping device from working at all. Follow these tips to fix a “no atomizer” error with a rebuildable atomizer.
- Always use a resistance checker to test your coils before installing them on your mod. It’s the safest way to use a rebuildable atomizer and the fastest way to find out if there’s a problem with the coil.
- Adjust the coil with ceramic tweezers to ensure that the wraps are evenly spaced.
- Tighten all of the post screws.
- Extend your atomizer’s center pin if it’s adjustable.
- Check the positioning of the coil. If the coil’s resistance is fine until you install the atomizer’s cap, it means that the coil is touching the cap.
- If none of these tips fix the “no atomizer” error, you may need to start over and rebuild the coil from scratch.